Search this question and you’ll run into a genuinely confusing problem: several competing guides disagree on the actual keyboard shortcut, some listing Ctrl+Shift+Refresh, others Ctrl+Alt+Shift+Refresh, others Ctrl+Alt+Right Arrow. Only one of those is correct, according to Google’s own official documentation — and getting it wrong just means pressing keys that do nothing, which is exactly the frustrating loop a lot of people searching this question end up stuck in.
The Correct Keyboard Shortcut
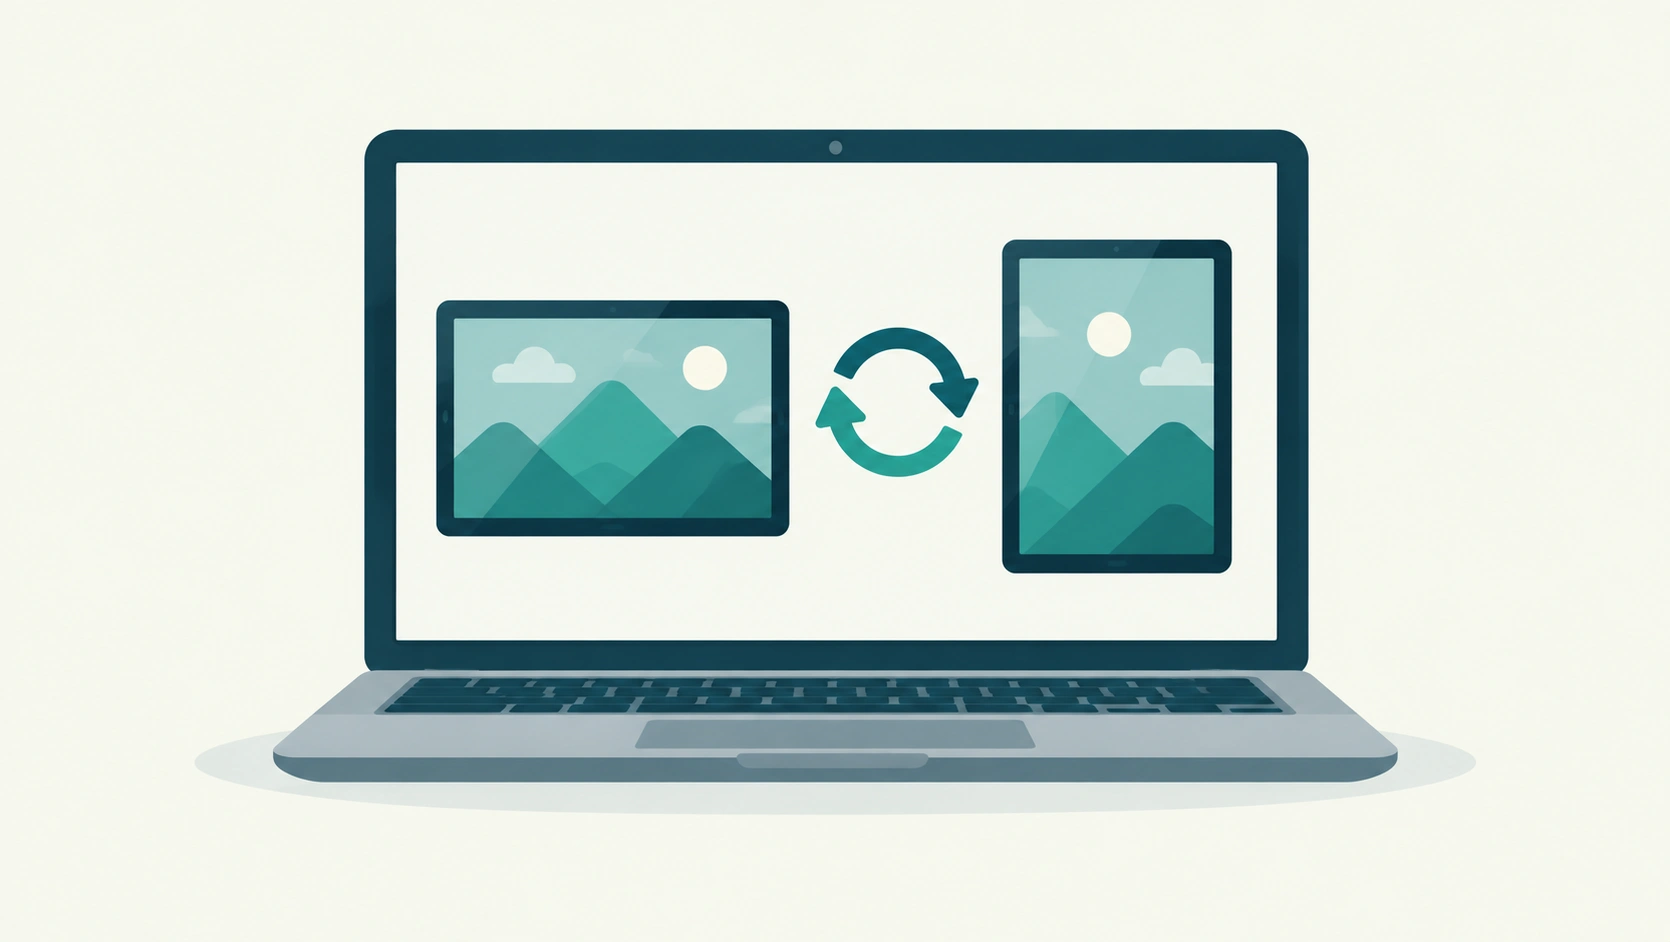
Press Ctrl + Shift + Refresh (the circular arrow key, located in the top row where a dedicated F3 key would sit on a standard keyboard). Each press rotates the screen 90 degrees. Press it four times and you’ll cycle through landscape, portrait, upside-down landscape, and back to standard landscape again. This is confirmed directly in Google’s own official Chromebook keyboard shortcuts documentation — not a third-party guess, the actual source.
If you’re using a Chromebox (the desktop version, connected to an external monitor rather than a built-in screen) rather than a laptop-style Chromebook, the equivalent shortcut is Ctrl + Shift + F3.
Method 2: Through Settings
If the keyboard shortcut isn’t registering, or you simply prefer navigating by menu:
Step 1: Open Quick Settings
Select the time in the bottom-right corner of your screen.
Step 2: Open Settings
Click the gear icon to open the full Settings app.
Step 3: Find Display Settings
Navigate to Device, then Displays.
Step 4: Select Your Orientation
Look for the Orientation dropdown and choose your preferred rotation directly, rather than cycling through options one press at a time.
Method 3: Touchscreen Gesture (If Your Chromebook Has One)
Not all Chromebooks include a touchscreen, but if yours does, you can rotate through the notification shade rather than the keyboard or settings menu: swipe down from the top-right of the screen to open Quick Settings, and look for a Rotate screen or orientation toggle icon directly in that panel.
Understanding Auto-Rotate (Tablet and 2-in-1 Models)
If you’re using a convertible or tablet-style Chromebook, screen orientation may already be handled automatically through a built-in accelerometer, similar to a phone or tablet — the screen rotates to match how you’re physically holding the device without any manual input needed. This automatic behavior can be toggled on or off, generally through the same Quick Settings panel used for the manual rotate option above. If your screen seems to be rotating on its own in ways you don’t want, checking whether auto-rotate is enabled (and turning it off if you’d rather set orientation manually) is the fix, rather than something being broken.
Why Screen Rotation Might Not Work at All
The App You’re Using Doesn’t Support It
Not every application respects a rotated display — some apps, particularly certain Android apps running through Chrome OS’s Android app support, are built with a fixed orientation and simply won’t visually adjust even after the system-level rotation succeeds.
Your Chromebook Doesn’t Have an Accelerometer
Manual keyboard-shortcut rotation generally works across standard Chromebook models regardless of hardware, but auto-rotate specifically depends on having an accelerometer built in — a feature more common on touchscreen and convertible models than on basic clamshell laptops. If auto-rotate options aren’t appearing in your settings at all, this is the likely reason, not a settings bug.
Auto-Rotate Is Actively Locked
If your device has an accelerometer but the screen isn’t responding to physical repositioning the way you’d expect, check whether an auto-rotate lock is currently enabled in Quick Settings — this deliberately overrides automatic rotation until it’s turned back off.
When Rotating Your Screen Is Actually Useful
Beyond simply “because you can,” a few genuine practical scenarios come up repeatedly: reading a long PDF or document in portrait mode, which matches a standard page’s actual proportions far better than a wide landscape view; presenting content to someone sitting across from you by rotating the display to face their orientation rather than yours; and using drawing or note-taking apps on a touchscreen Chromebook, where a portrait orientation often feels more natural for handwriting-style input than a wide landscape canvas.
Quick Reference
| Method | Best for |
|---|---|
| Ctrl + Shift + Refresh | Fastest, works on any Chromebook keyboard |
| Ctrl + Shift + F3 | Chromebox (desktop) with external monitor |
| Settings > Device > Displays | Selecting a specific orientation directly, rather than cycling |
| Quick Settings swipe gesture | Touchscreen models only |
| Auto-rotate toggle | Tablet/convertible models with an accelerometer |
Frequently Asked Questions
What is the actual keyboard shortcut to rotate a Chromebook screen?
Ctrl + Shift + Refresh (the circular arrow key), confirmed directly in Google’s own official Chromebook support documentation. Each press rotates the display 90 degrees further.
Why does my Chromebook screen rotation shortcut not do anything?
This usually means either you’re pressing the wrong key combination (several inaccurate versions circulate online), or the specific app you have open doesn’t support rotated display, particularly with some Android apps running on Chrome OS.
Does every Chromebook support auto-rotate?
No — auto-rotate specifically requires a built-in accelerometer, a feature generally limited to touchscreen and convertible/tablet-style Chromebook models rather than standard clamshell laptops.
How do I stop my Chromebook screen from rotating on its own?
Check Quick Settings for an auto-rotate toggle or lock option — disabling it stops automatic orientation changes based on how the device is physically positioned, letting you set orientation manually instead.
Is the rotation shortcut different on a Chromebox versus a Chromebook?
Yes — a standard Chromebook uses Ctrl + Shift + Refresh, while a Chromebox (the desktop version connected to an external display) uses Ctrl + Shift + F3 instead.
Getting a simple shortcut wrong because of conflicting advice online is a genuinely avoidable frustration — the correct answer here has been sitting in Google’s own documentation the entire time, which is worth remembering the next time a “quick fix” search turns up five different answers that can’t all be right.