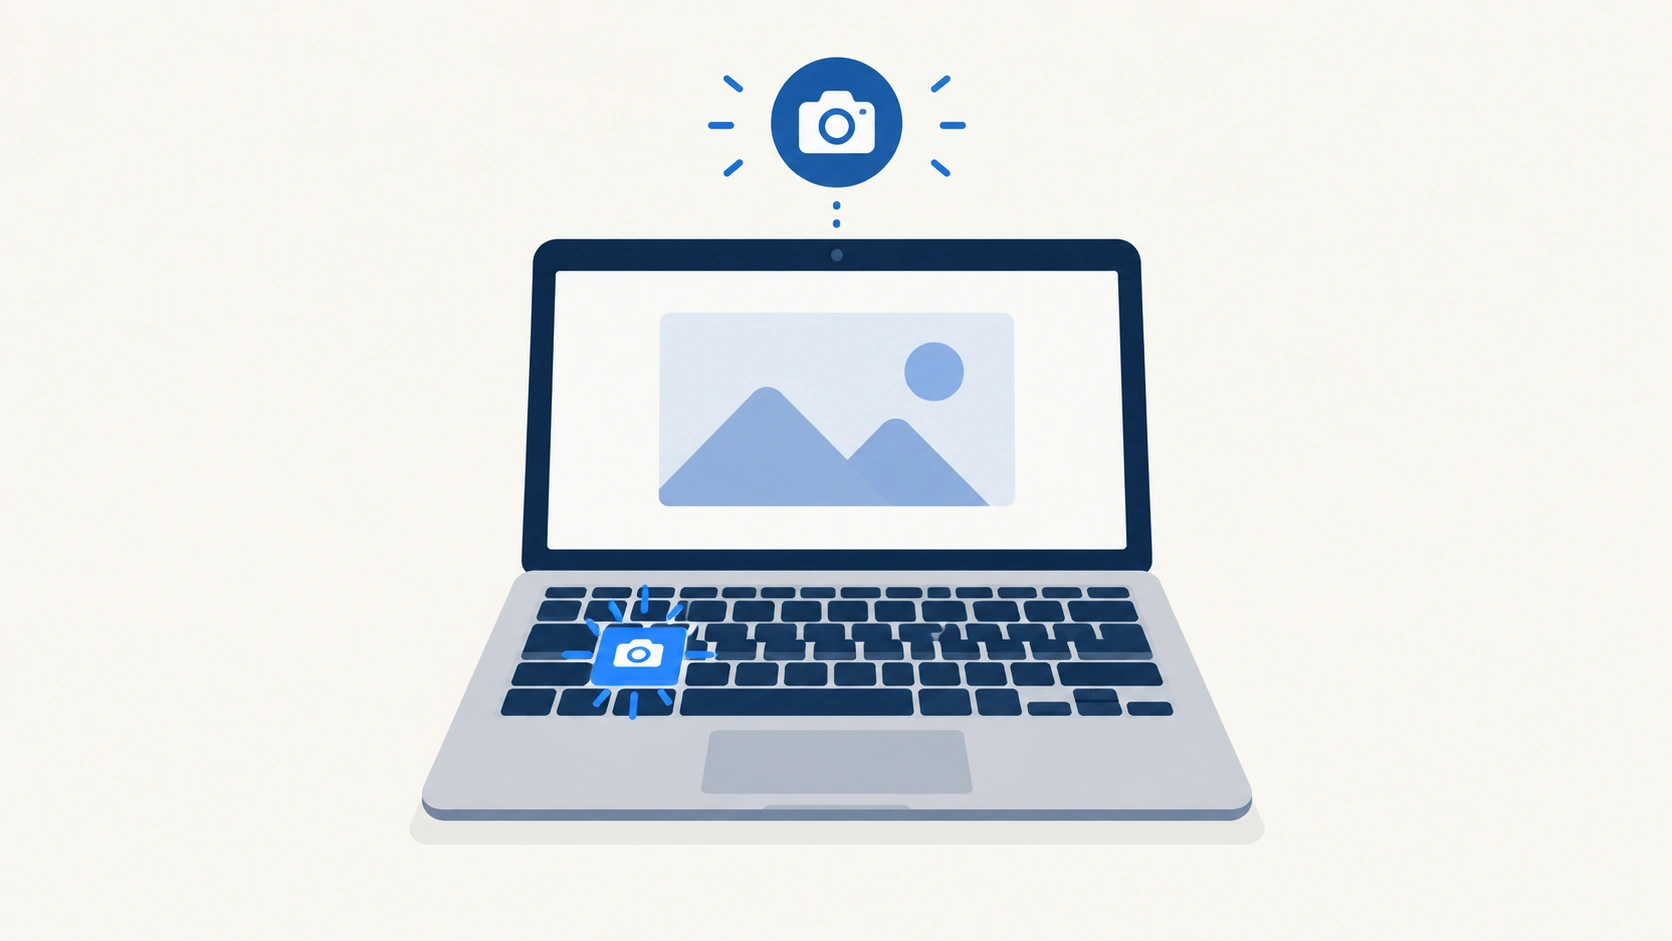
Dell doesn’t build its own screenshot tool — every method below comes from Windows itself, which means it works identically whether you’re on an Inspiron, XPS, Latitude, Vostro, or a Dell desktop. The only real variable across Dell’s own lineup is keyboard layout: some models have a dedicated PrtScn key sitting in plain sight, while slimmer laptops bury it behind a function key combination instead. Here’s every method, plus the one thing that catches more people off guard than any of the shortcuts themselves.
The Fastest Method: Print Screen
Capturing the Whole Screen
Press the PrtScn key (sometimes labeled PrtSc or Prt Scr, usually near the top-right of the keyboard). This copies an image of your entire screen to the clipboard — nothing is saved as a file yet, which is the single most common point of confusion with this method.
Saving It Automatically Instead of Just Copying
Press Windows key + PrtScn together. The screen briefly dims for a moment to confirm the capture, and the image saves automatically as a file in your Pictures > Screenshots folder — no pasting required.
Capturing Only the Active Window
Press Alt + PrtScn to copy just the window you’re currently focused on, rather than your entire screen. This is useful when you only need one app’s window without everything else cluttering the image.
If Your Dell Laptop Doesn’t Have a Dedicated PrtScn Key
Some slimmer Dell models, particularly compact laptops with condensed keyboards, share the Print Screen function with another key rather than giving it a dedicated spot. On these, you’ll need Fn + PrtScn (or Fn + the key showing a small “PrtScn” label) to trigger the same capture. If you’re unsure whether your specific model needs this, check your keyboard for a small secondary label on one of the function or number keys — that’s usually the tell.
Windows + Shift + S: The More Precise Method
This is worth learning even if PrtScn already feels familiar, since it solves PrtScn’s biggest limitation — capturing the whole screen when you only need part of it.
Step 1: Trigger the Snipping Overlay
Press Windows key + Shift + S. Your screen dims slightly and a small toolbar appears at the top.
Step 2: Choose Your Capture Shape
Select rectangular snip, freeform snip, window snip (captures one specific open window), or full-screen snip, depending on what you need.
Step 3: Select Your Area
Drag to select the region you want captured. The image copies to your clipboard immediately.
Step 4: Annotate or Save
A notification appears in the bottom-right corner — click it to open the capture directly in the Snipping Tool app, where you can markup, crop, or save it as a file rather than just leaving it on the clipboard.
Using the Snipping Tool App Directly
Rather than triggering the shortcut, you can open the Snipping Tool app directly from the Start menu. This gives you the same four capture modes (rectangular, freeform, window, full-screen) plus a delay timer — useful for capturing menus or tooltips that disappear the moment you click away to trigger a screenshot.
Capturing Screenshots in Games: Xbox Game Bar
Standard screenshot methods sometimes struggle with full-screen games. Press Windows key + G to open the Xbox Game Bar, built into Windows 10 and 11, then use its dedicated camera icon to capture a screenshot without exiting the game. It also displays real-time FPS, CPU, and GPU usage, and can record video clips — genuinely useful if you’re troubleshooting a game’s performance, not just capturing a screenshot for reference.
Capturing a Full Webpage (Longer Than One Screen)
None of the methods above capture a scrolling page beyond what’s currently visible — for that, your browser has a built-in option most people never discover.
In Chrome or Edge
Press F12 to open Developer Tools, then press Ctrl + Shift + P to open the command menu. Type “screenshot,” and select Capture full size screenshot from the results. This captures the entire page, including everything below the visible fold, as a single image — genuinely useful for saving a long article, a full email thread, or a lengthy webpage without stitching multiple screenshots together manually.
Where Your Screenshots Actually Go (The Part That Confuses Everyone)
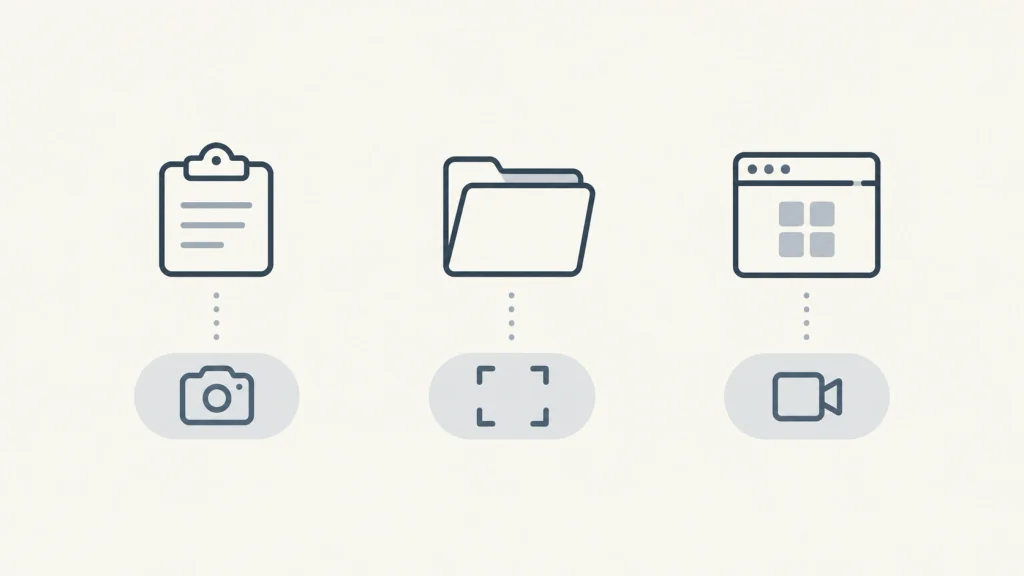
This is worth understanding clearly, since it’s the most common source of “I took a screenshot but can’t find it anywhere” confusion:
- Plain PrtScn: copies to clipboard only. Nothing is saved as a file until you paste it into Paint, Word, an email, or another app and save it from there.
- Windows + PrtScn: saves automatically to Pictures > Screenshots, no pasting needed.
- Windows + Shift + S (Snipping Tool): copies to clipboard by default; you have to open the notification or the Snipping Tool app and save it manually as a file.
If you’ve ever taken a screenshot with plain PrtScn, done something else, and then found the image gone — that’s exactly what happened. The clipboard only holds one thing at a time, and copying anything else after a PrtScn capture erases it before you’ve saved it anywhere.
Frequently Asked Questions
Why doesn’t my Dell laptop have a PrtScn key?
Some slim or compact Dell models condense the keyboard layout and combine Print Screen with another key. Use Fn + PrtScn (or the key showing a small PrtScn label) instead of a dedicated key.
Why can’t I find my screenshot after taking it?
It depends on the method used. Plain PrtScn only copies to the clipboard — it isn’t saved as a file until you paste and save it manually. Windows + PrtScn saves automatically to Pictures > Screenshots.
What’s the difference between PrtScn and Windows + Shift + S?
PrtScn captures the entire screen. Windows + Shift + S opens a selection tool letting you capture a specific region, a single window, or the full screen, plus gives you direct access to markup and annotation tools.
Can I take a screenshot of a full webpage, not just what’s visible?
Yes — in Chrome or Edge, open Developer Tools (F12), press Ctrl + Shift + P, type “screenshot,” and select Capture full size screenshot to capture the entire scrollable page as one image.
Does taking a screenshot on a Dell require any extra software?
No. Every method above is built into Windows itself and works identically across Dell’s lineup — no additional app installation is needed for standard screenshot capture.
Once you know which shortcut matches what you actually need — the whole screen, one window, a precise region, or an entire scrolling page — screenshotting on a Dell stops being a “which button was it again” moment and becomes something your fingers just do without thinking about it.